Now to the fun part… making your pins. Pin to Blog gives you the ability to create pins in 4 different ways.
PIN

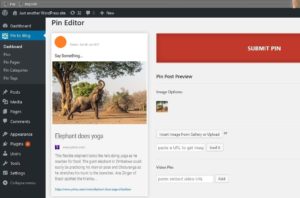
The first bookmarklet (PIN) will bring up an on-screen overlay which lets you instantly create pins without having to go through the dashboard or navigate away from the web page that you are pinning. This is a handy feature which utilizes the default settings that you have selected in the Pin to Blog dashboard.
PIN(WP)

The second bookmarklet, PIN(WP), lets you create pins through the WordPress dashboard. This is used when you want to change from the default settings and select different privacy or display settings for individual pins.
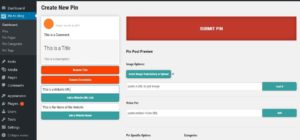
Create Pins from Scratch

You also have an option to create a new pin from scratch from the Pin to Blog dashboard or Pin to Blog WordPress dashboard widget. Simply enter the information that you want to include into the fields provided and submit your pin when you are satisfied.
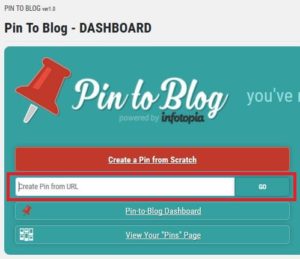
Create Pins from a URL

You can also create pins directly from a url. Simply paste a url into the “Create a Pin from URL” box on the Pin to Blog dashboard or the Pin to Blog WordPress dashboard widget and your pin will be created through the WordPress dashboard.
Once you have your pin populated with information, you can fully customize the content, images, categories, tags, as well as make comments on your pins for others to see. When you are satisfied that your pin is ready to post, simply hit the submit button and your pin will be created.
Pinning is as quick and easy as that. Before you know it, you will have loads of pins which are ready to be displayed on your website.